Litespeed Cache is strongly recommended as an alternative to other caching plugins and has been benchmarked to offer far superior performance due to its native ability to work with our Litespeed Enterprise web servers. However, if you are using any other plugin for caching that doesn't offer native Object Cache support, it's still possible to integrate with Redis using the 'Redis Object Cache' plugin.
To install the 'Redis Object Cache' plugin for WordPress, follow these steps:
- Log in to your WordPress admin dashboard.
- Navigate to the 'Plugins' section by clicking on 'Plugins' in the left-hand menu.
- Click on the 'Add New' button at the top of the page.
- In the search bar, type 'Redis Object Cache' and press Enter.
- Look for the 'Redis Object Cache' plugin by Till Krüss in the search results.
- Click the 'Install Now' button next to the plugin.
- After the installation is complete, click the 'Activate' button to enable the plugin on your WordPress site.
Now that the plugin is installed and activated, you'll need to enable the Redis socket via the Redis section of cPanel...
Once within the Redis tool enable it for your account:

Once enabled, copy the Redis socket path, as we will need this later! You can always return to this screen if you need to view this again.
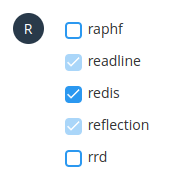
Now we need to enable the Redis extension; this is enabled under cPanel -> Select PHP Version -> Extensions -> Redis

Lastly, the plugin doesn't allow you to define a socket path within the interface, so we have to add the following lines to your wp-config.php file, ensuring the path is correct as per the Redis screen in cPanel...
define('WP_REDIS_PATH', '/home/brixlymonitoring/tmp/redis.sock');
define('WP_REDIS_SCHEME', 'unix');
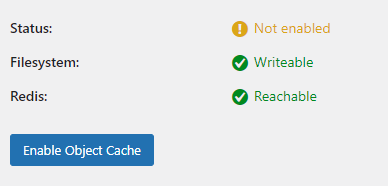
Once done, click 'Enable Object Cache' in the Redis WordPress Plugin...
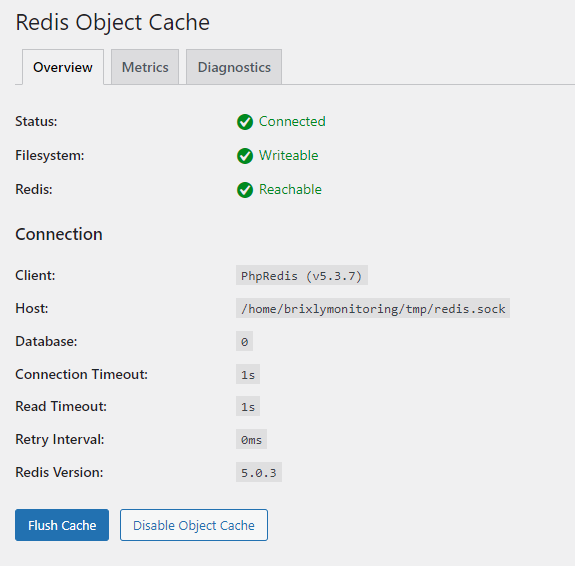
If this has been done correctly, you should see something similar to the following...


