


To add a new email address to your Brixly Workspace / Email Hosting service, you can do so via our client area (https://client.brixly.uk).
From here, click on 'Services -> My Services' and select the appropriate service. 
Once you have selected the service, you will see a screen similar to the following...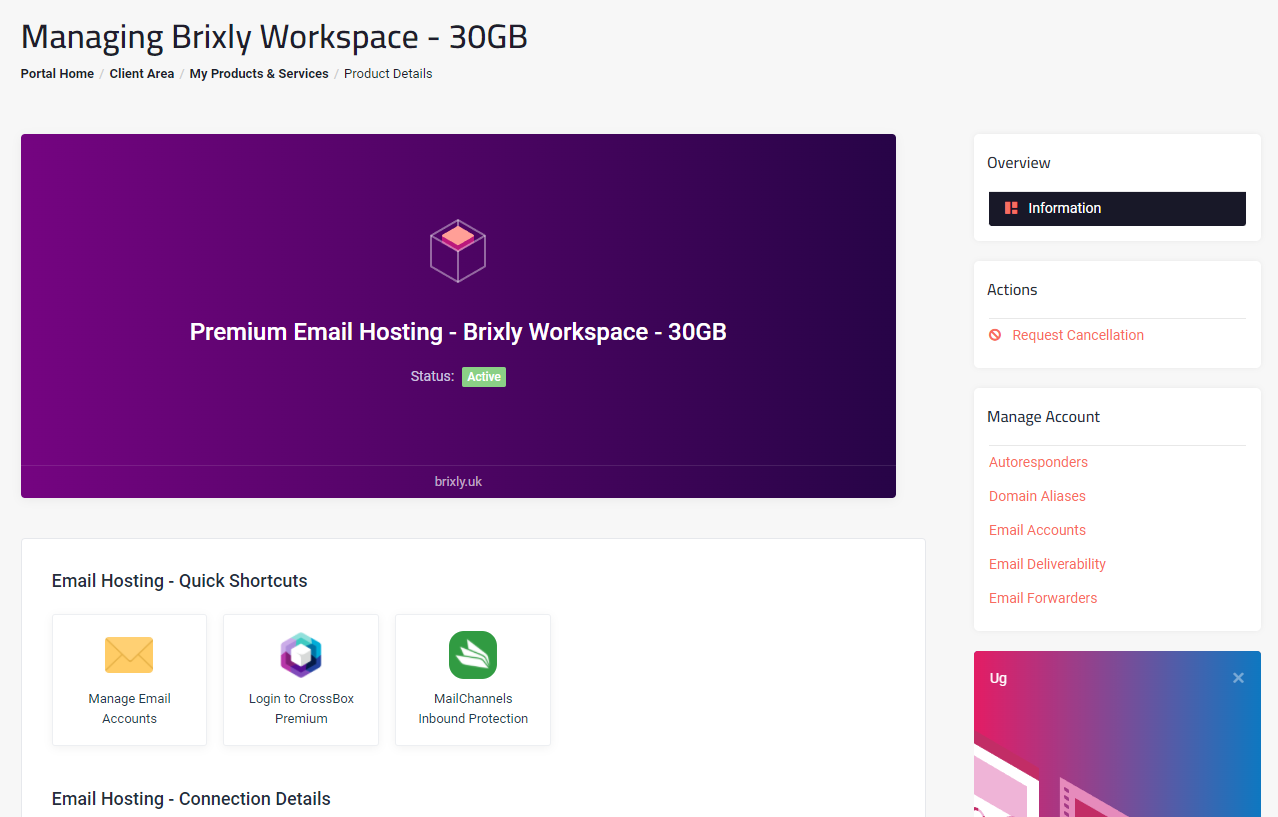
To add a new email address, click 'Manage Email Accounts' which will take you to a screen similar to the following...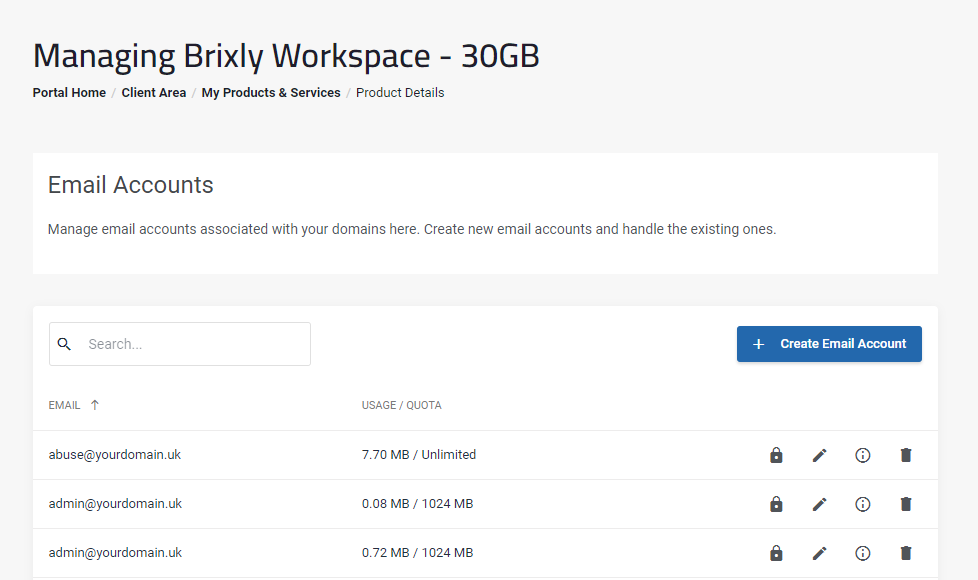
To create a new email hosting account, simply click 'Create Email Account' and provide the details on the screen provided...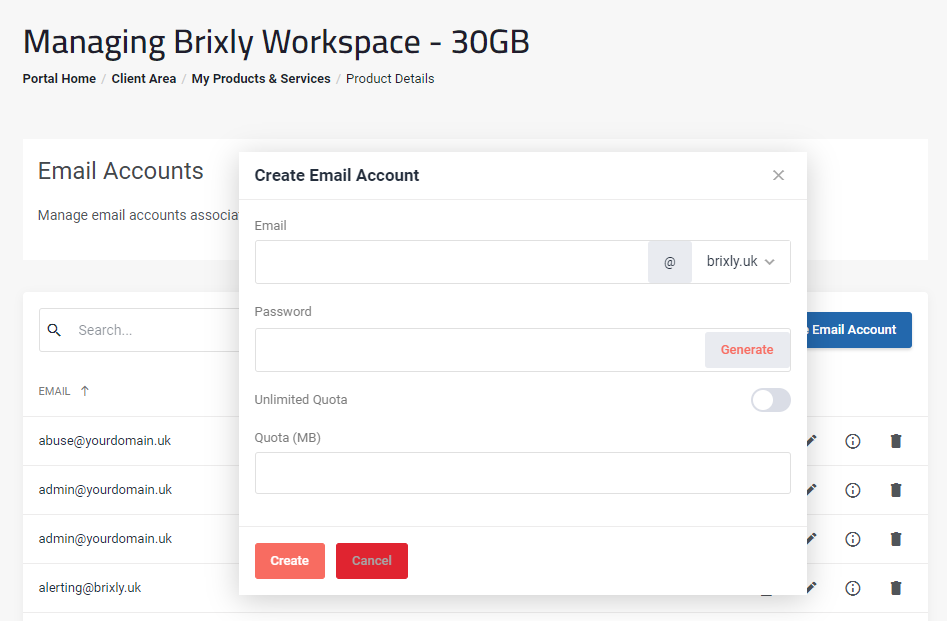
Once you have clicked 'Create' the email account will be created!
You will now be able to log in directly to the following using the new credentials...
https://mail.hostns.io