Before we can clone a WordPress site we need to make sure that the site we want to clone exists in the WP Toolkit and that the destination exists.
Add site to WP Toolkit
Navigate to the cPanel account of the site you want to clone and head to WP Toolkit.
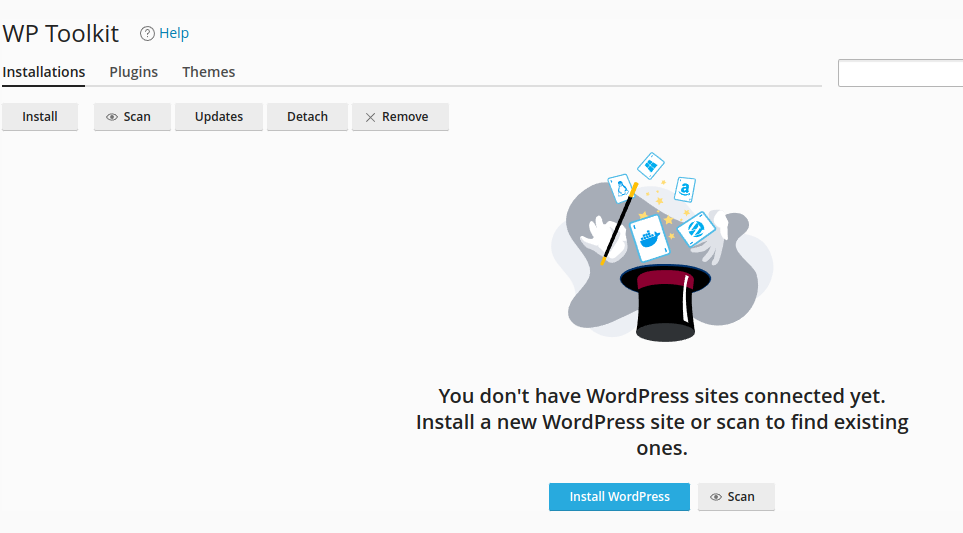
You will need to select 'Scan' to import any current set-up sites to the WP Toolkit:
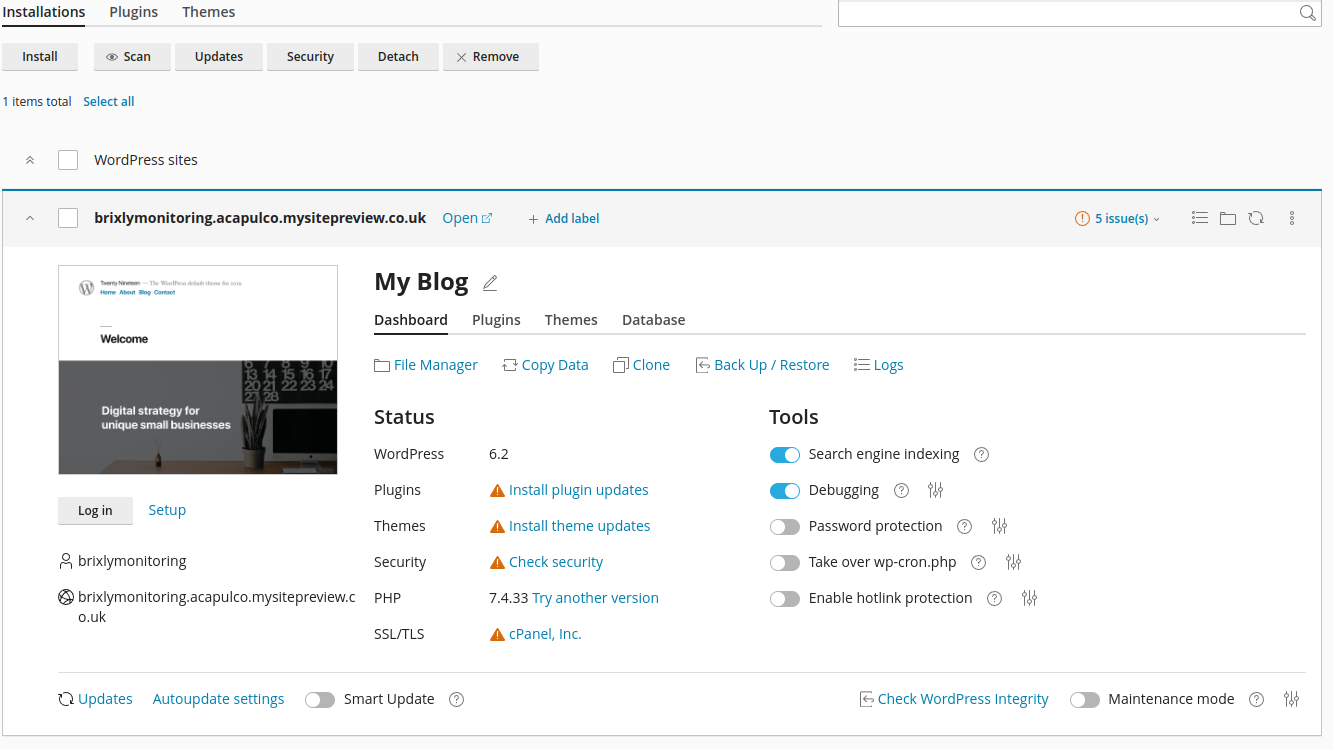
Once completed the WordPress site will show in the WP Toolkit dashboard:
Create cPanel account or add domain
Either create a new cPanel account or add an addon/subdomain to an existing account to import the site.
If you're using one already created, it is important no site already exists on the domain you wish to import this to.
Import the site
Now that the site is in the WordPress Toolkit and we have a destination created we can begin the import.
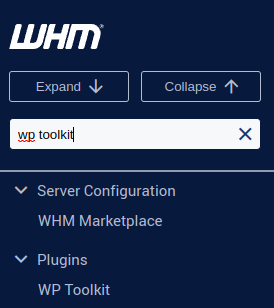
In WHM navigate to the 'WP Toolkit' plugin, the easiest way is through the search bar on the left-hand side:
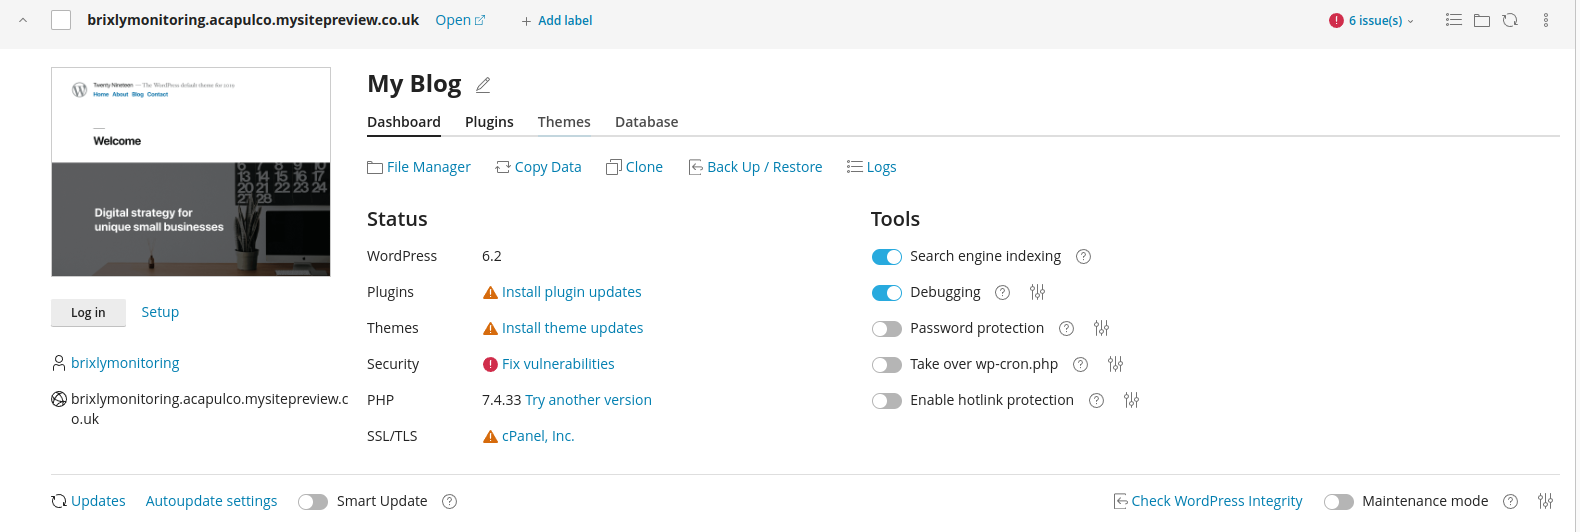
This will display a list of all WordPress sites owned by your sub-users, find the site you want to clone from the list (the search bar at the top right comes in very handy!)
Now you have the site click the 'Clone' button to migrate this to another domain.
Select 'Use existing domain' and choose the domain you wish to transfer the site over to:
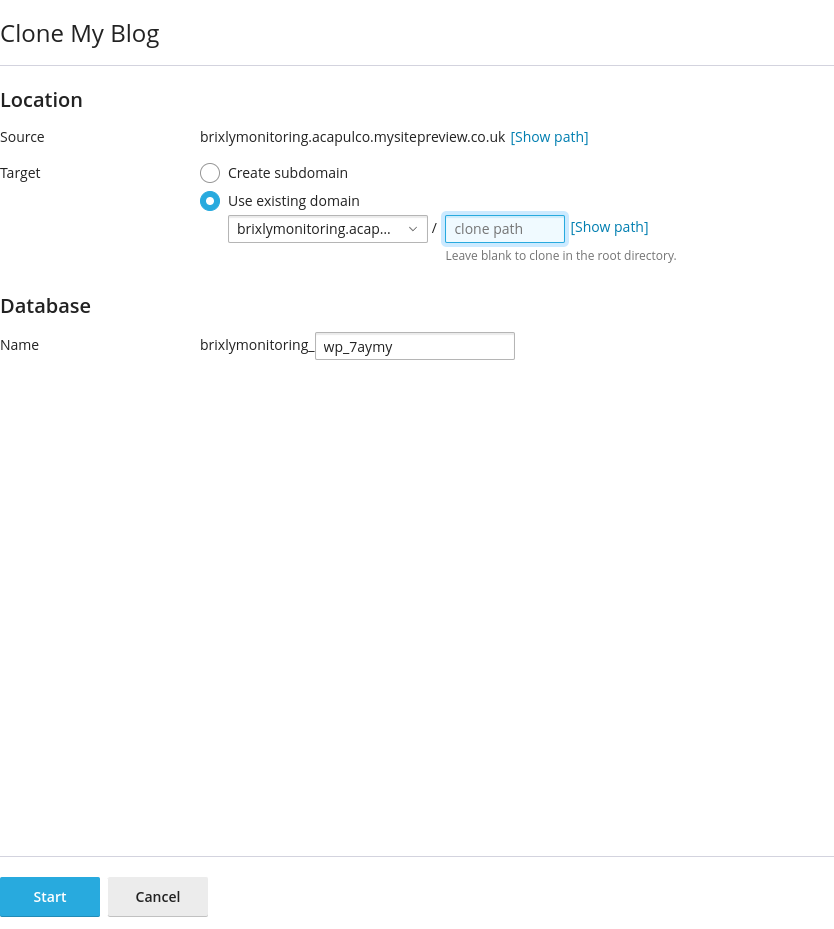
We would recommend leaving the path blank (or it will install in a sub-directory) and the default database name is fine.
Once ready, click Start to begin cloning the site.
There will be a progress bar at the bottom of this window detailing how the transfer is going:
You can close out of this window if you wish as the transfer will continue in the background.
This will report once it's successfully cloned:
If you closed the window and wanted to check the process, there's a small pop-up on the bottom right-hand corner that will report the process of the transfer:
Once it's completed, the site is ready to go from the new domain name.


