


By default, all the newly created accounts open with a 403 error. Which indicated there is no file or directory available on that account. If you want to add custom pages for all the newly created accounts, you can use the skeleton directory feature on your WHM. The Skelton directory in WHM allows you to copy the same files to every newly created cPanel accounts 'public_html' and public_ftp folders.
This may be useful if you want to add a custom page to all newly created accounts or if you wish to make changes to .htaccess files when the accounts are being created.
1) Login WHM as the root user.
2) Select the icon “Account Functions”.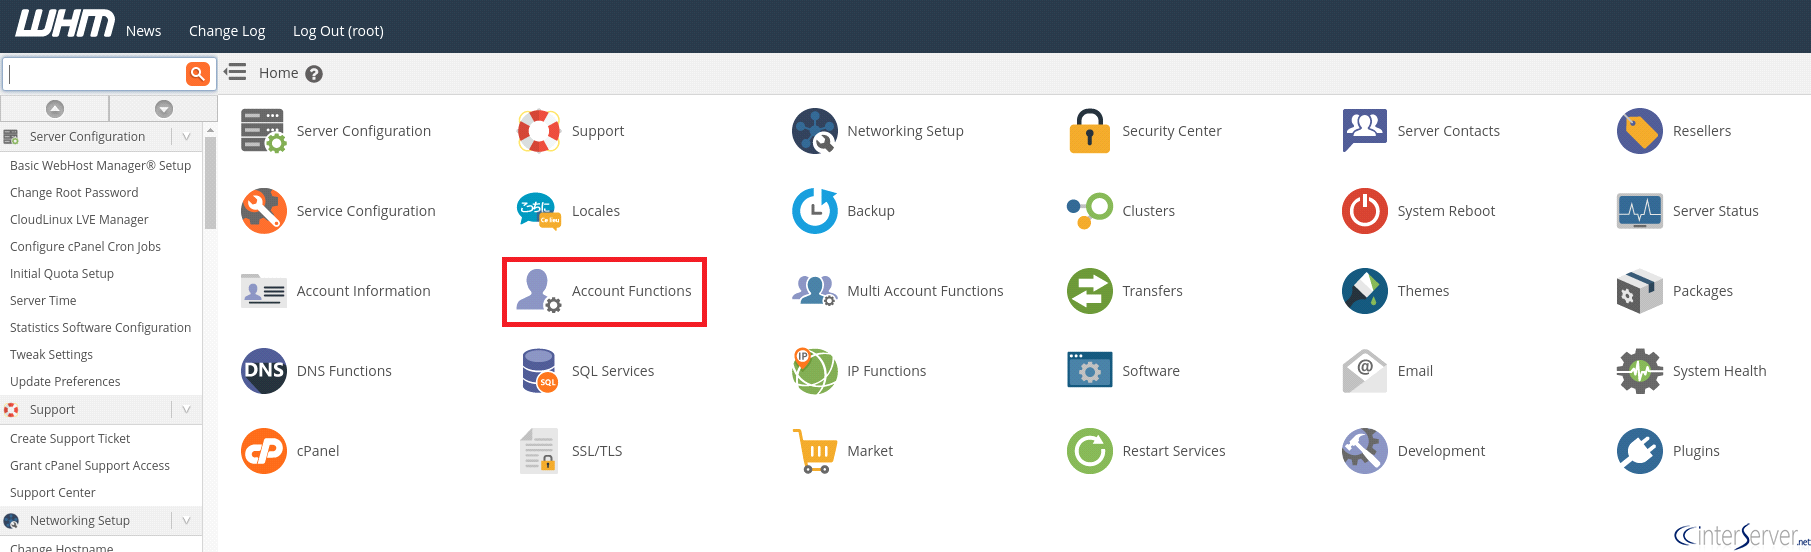
3) Navigate to “Skelton Directory”.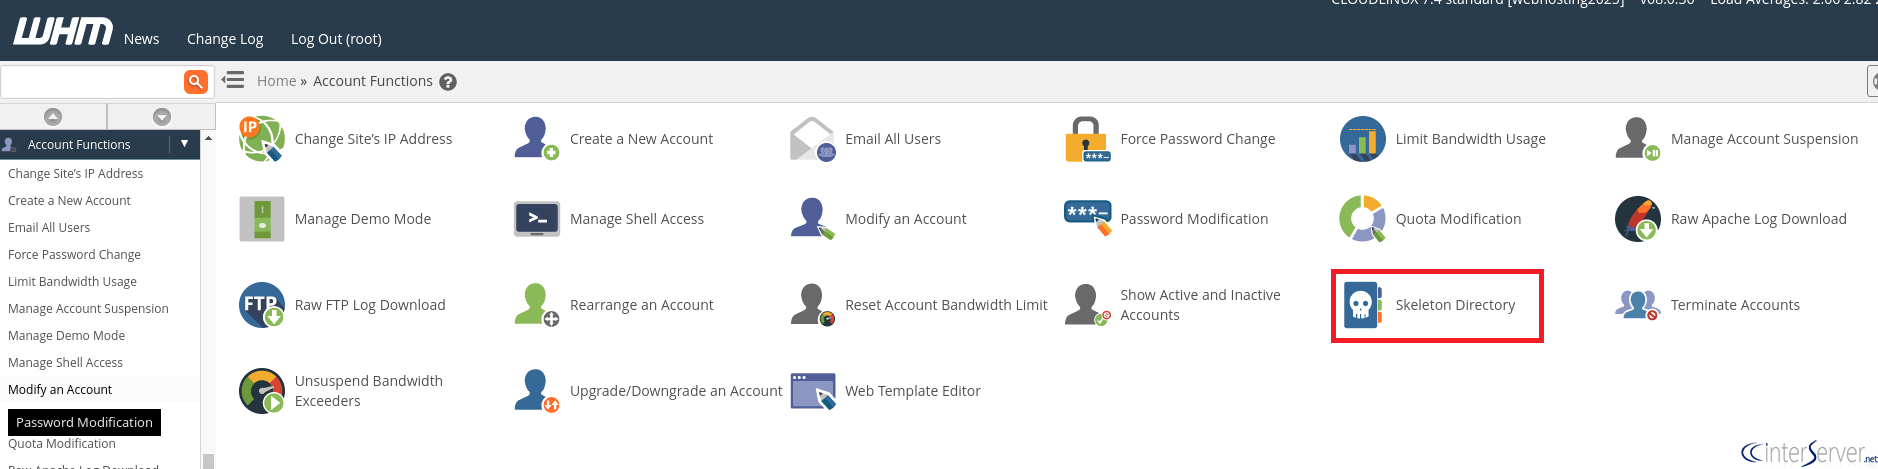
4) In this page, you can see the path to the default Skeleton directory.

This directory is what is going to be used as a skeleton for newly created cPanel accounts. For example, if you place an index.html file in /root/cpanel3-skel/public_html, and then create a new cPanel account, that cPanel account will have a replica of your index.html in its public_html directory.
If you want to create custom pages for all the accounts on your reseller panel, you can upload the new page to the skeleton directory of your main or reseller account using FTP or file manager.
What is the /etc/skel directory?
The directory /etc/skel directory contains files and directories that will be copied into the newly created user account. The skeleton directory automatically copies the files and folders when the new user is created with useradd or other commands. After installing the operating system, some configuration files are placed in the /etc/skel directory and they are...
/etc/skel/.bash_logout
/etc/skel/.bashrc
/etc/skel/.profile
/etc/skel/.vimrc
To change the location of the skeleton directory, edit line beginning with SKEL=, in the /etc/default/useradd file.
# SKEL=/etc/skel